Preserving the Summer Bounty: A Guide to Freezing Sweet Corn
This blog post contains affiliate links. This means if you click on the link and make a purchase, I'll receive a small commission at no extra cost to you. I only recommend products I've used and believe in, and any earnings from these links help to support the continued maintenance of this blog. Thank you for your support!
As the golden days of summer unfold, there's nothing quite like the sweet crunch of fresh corn on the cob. Whether enjoyed as a side dish, a part of hearty soups, or a colorful addition to salads, the abundance of sweet corn is a joy to savor. To extend the pleasure of this seasonal delight, let's delve into the art of freezing sweet corn. With a few simple steps, you can capture the essence of summer and relish the taste of golden kernels even in the colder months.
What You'll Need:
Fresh Sweet Corn: Harvest or procure the freshest sweet corn you can find. The flavor of your frozen corn will largely depend on the quality of the corn you start with.
Large Pot or Basin: For blanching the corn.
Ice Water Bath: To quickly cool down the blanched corn and halt the cooking process.
Sharp Knife: For cutting the corn off the cob.
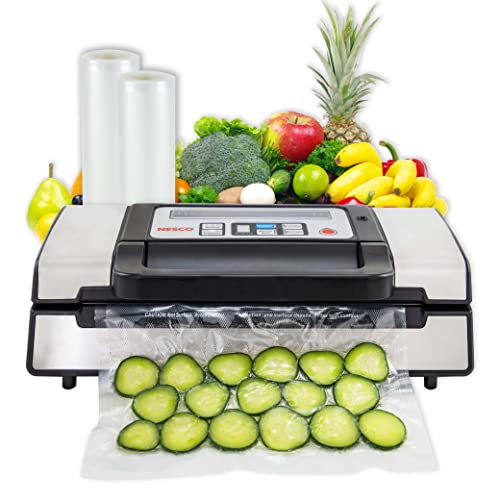
Zip-Top Freezer Bags or Vacuum Sealer: For packaging and storing the frozen corn.
Step-by-Step Guide:
1. Selecting the Corn:
Choose fresh, high-quality sweet corn. The kernels should be plump and juicy.
2. Shucking the Corn:
Peel back the husks and remove the silk. Ensure the corn is clean and free from any debris.
3. Blanching:
Bring a large pot of water to a rolling boil.
Submerge the ears of corn in the boiling water for 4-6 minutes, depending on the size of the ears.
Quickly transfer the blanched corn to an ice water bath to cool.
4. Cutting the Kernels:
Once cooled, use a sharp knife to cut the kernels off the cob. Place the cob flat on a cutting board to make this process easier.
5. Packaging for Freezing:
Portion the corn into meal-sized quantities. I like to put 2 cups in each bag. This works well for my family of 4.
Place the corn in either zip-top freezer bags or use a vacuum sealer for airtight packaging.
Label the bags with the date for reference.
6. Removing Air (Optional):
If using zip-top bags, remove as much air as possible to prevent freezer burn. You can do this by partially sealing the bag, squeezing out excess air, and then sealing it completely.
7. Freezing:
Lay the bags flat in the freezer to allow for easier stacking and efficient use of space.
Tips for Success:
Quality Matters: Start with the freshest corn available for the best flavor and texture after freezing.
Blanching Time: The blanching time is crucial. Too short, and the corn won't be preserved effectively; too long, and the texture may suffer.
Quick Cooling: Ensure the corn is cooled rapidly in the ice water bath to maintain its crispness and color.
Labeling: Always label your packages with the date to keep track of freshness.
When winter arrives and you're craving the taste of summer, simply reach into your freezer, grab a bag of sweet corn, and bring back the warmth and flavors of the sun-soaked days. Whether added to casseroles, stir-fries, or enjoyed on its own, your frozen sweet corn will bring a burst of sunshine to your winter meals. Happy freezing!