Building My New Basement Plant Station for Growing Seedlings
This post contains affiliate links. This means I may earn a small commission if you make a purchase through these links, at no additional cost to you. As an Amazon Associate (or other affiliate program), I earn from qualifying purchases. I only recommend products I personally use and love. Thank you for supporting Grown on a Hill!
As an avid gardener, I know that successful gardening starts long before the first seed is planted outdoors. Seed-starting is one of the most exciting parts of the process for me, and this year, I decided it was time for an upgrade. I wanted a more efficient and organized system to grow seedlings in my basement—something functional, space-saving, and optimized for success.
After a brief discussion with my husband and a look around at what we already had, inspiration struck: why not repurpose one of our 5-tier shelving units as the backbone for my new plant station? It was sturdy, spacious, and perfectly suited for the job. With a solid plan in mind, I got to work on gathering the materials and tools I needed to make this vision a reality.
The Supplies: Building the Perfect Setup
To turn my shelving unit into the ultimate plant station, I needed to outfit it with the right tools to create an ideal growing environment. After some research, I ordered a few key items from Amazon:
Barrina Plant Grow Lights
These 4FT 5000K full-spectrum white LED grow lights (6-pack) are game-changers for indoor gardening. They’re bright, energy-efficient, and mimic natural sunlight, which is crucial for healthy seedling growth. I plan to install them on multiple tiers of the shelving unit to ensure even light distribution.NEARPOW Digital Timers
Proper light cycles are critical for seedlings, so I invested in a [2-pack] of NEARPOW digital timers. These programmable timers come with dual outlets, 10 customizable on/off programs, and a 7-day scheduling feature. With these, I can automate my lights and keep everything running like clockwork.Comfort Zone Portable Clip-on Fan
Air circulation is just as important as light. Without it, seedlings can grow weak and be susceptible to damping off (a fungal disease). The Comfort Zone portable clip-on fan is small but mighty, with two speeds and adjustable tilt, making it easy to direct airflow exactly where it’s needed.Plastic Sheeting for Enclosure
To maintain the ideal temperature and humidity, I decided to repurpose some leftover plastic sheeting from winterizing our 3-season porch windows. This was a simple yet effective solution to create a mini greenhouse effect around the shelving unit, ensuring my seedlings stay cozy and protected from drafts.
The Setup: Transforming a Shelving Unit
The beauty of using a shelving unit as a plant station is its simplicity. The multiple tiers provide ample space for different trays of seedlings, and the open structure makes it easy to attach lights, fans, and other equipment.
Here’s how I assembled it:
Step 1: Installing Grow Lights
I mounted the Barrina LED grow lights to the underside of each shelf using the included clips and zip ties. This setup allows the light to shine directly onto the trays below, ensuring the seedlings get maximum exposure.Step 2: Setting Up the Timers
Next, I plugged the grow lights into the NEARPOW timers and programmed them for a 16-hour on/8-hour off light cycle, which is ideal for seedlings. This automation means I don’t have to worry about manually turning the lights on and off.Step 3: Adding Airflow
The clip-on fan was attached to the side of the shelving unit, angled to provide gentle airflow across all the trays. This not only strengthens the seedlings but also prevents moisture buildup, which could lead to mold or mildew.Step 4: Creating an Enclosure
I used the plastic sheeting to wrap the entire shelving unit, leaving an opening for easy access. This simple enclosure helps maintain consistent humidity and temperature, creating a greenhouse-like environment for my seedlings.


Connecting the Dots: Seed Starting Success
Setting up this plant station is just one piece of the puzzle. If you’re planning to start seeds this year, you’ll also need the right seed-starting mix and a clear plan for your growing season.
Check out my earlier post on The Perfect Seed Starting Mix, where I dive into what makes a good mix, the ingredients to look for, and how to prepare it for success.
You can also follow along with my Seed Starting Journey for 2025, where I’ll document everything I’m growing this year and share updates on the progress of my seedlings as they transition from this new station to the garden.
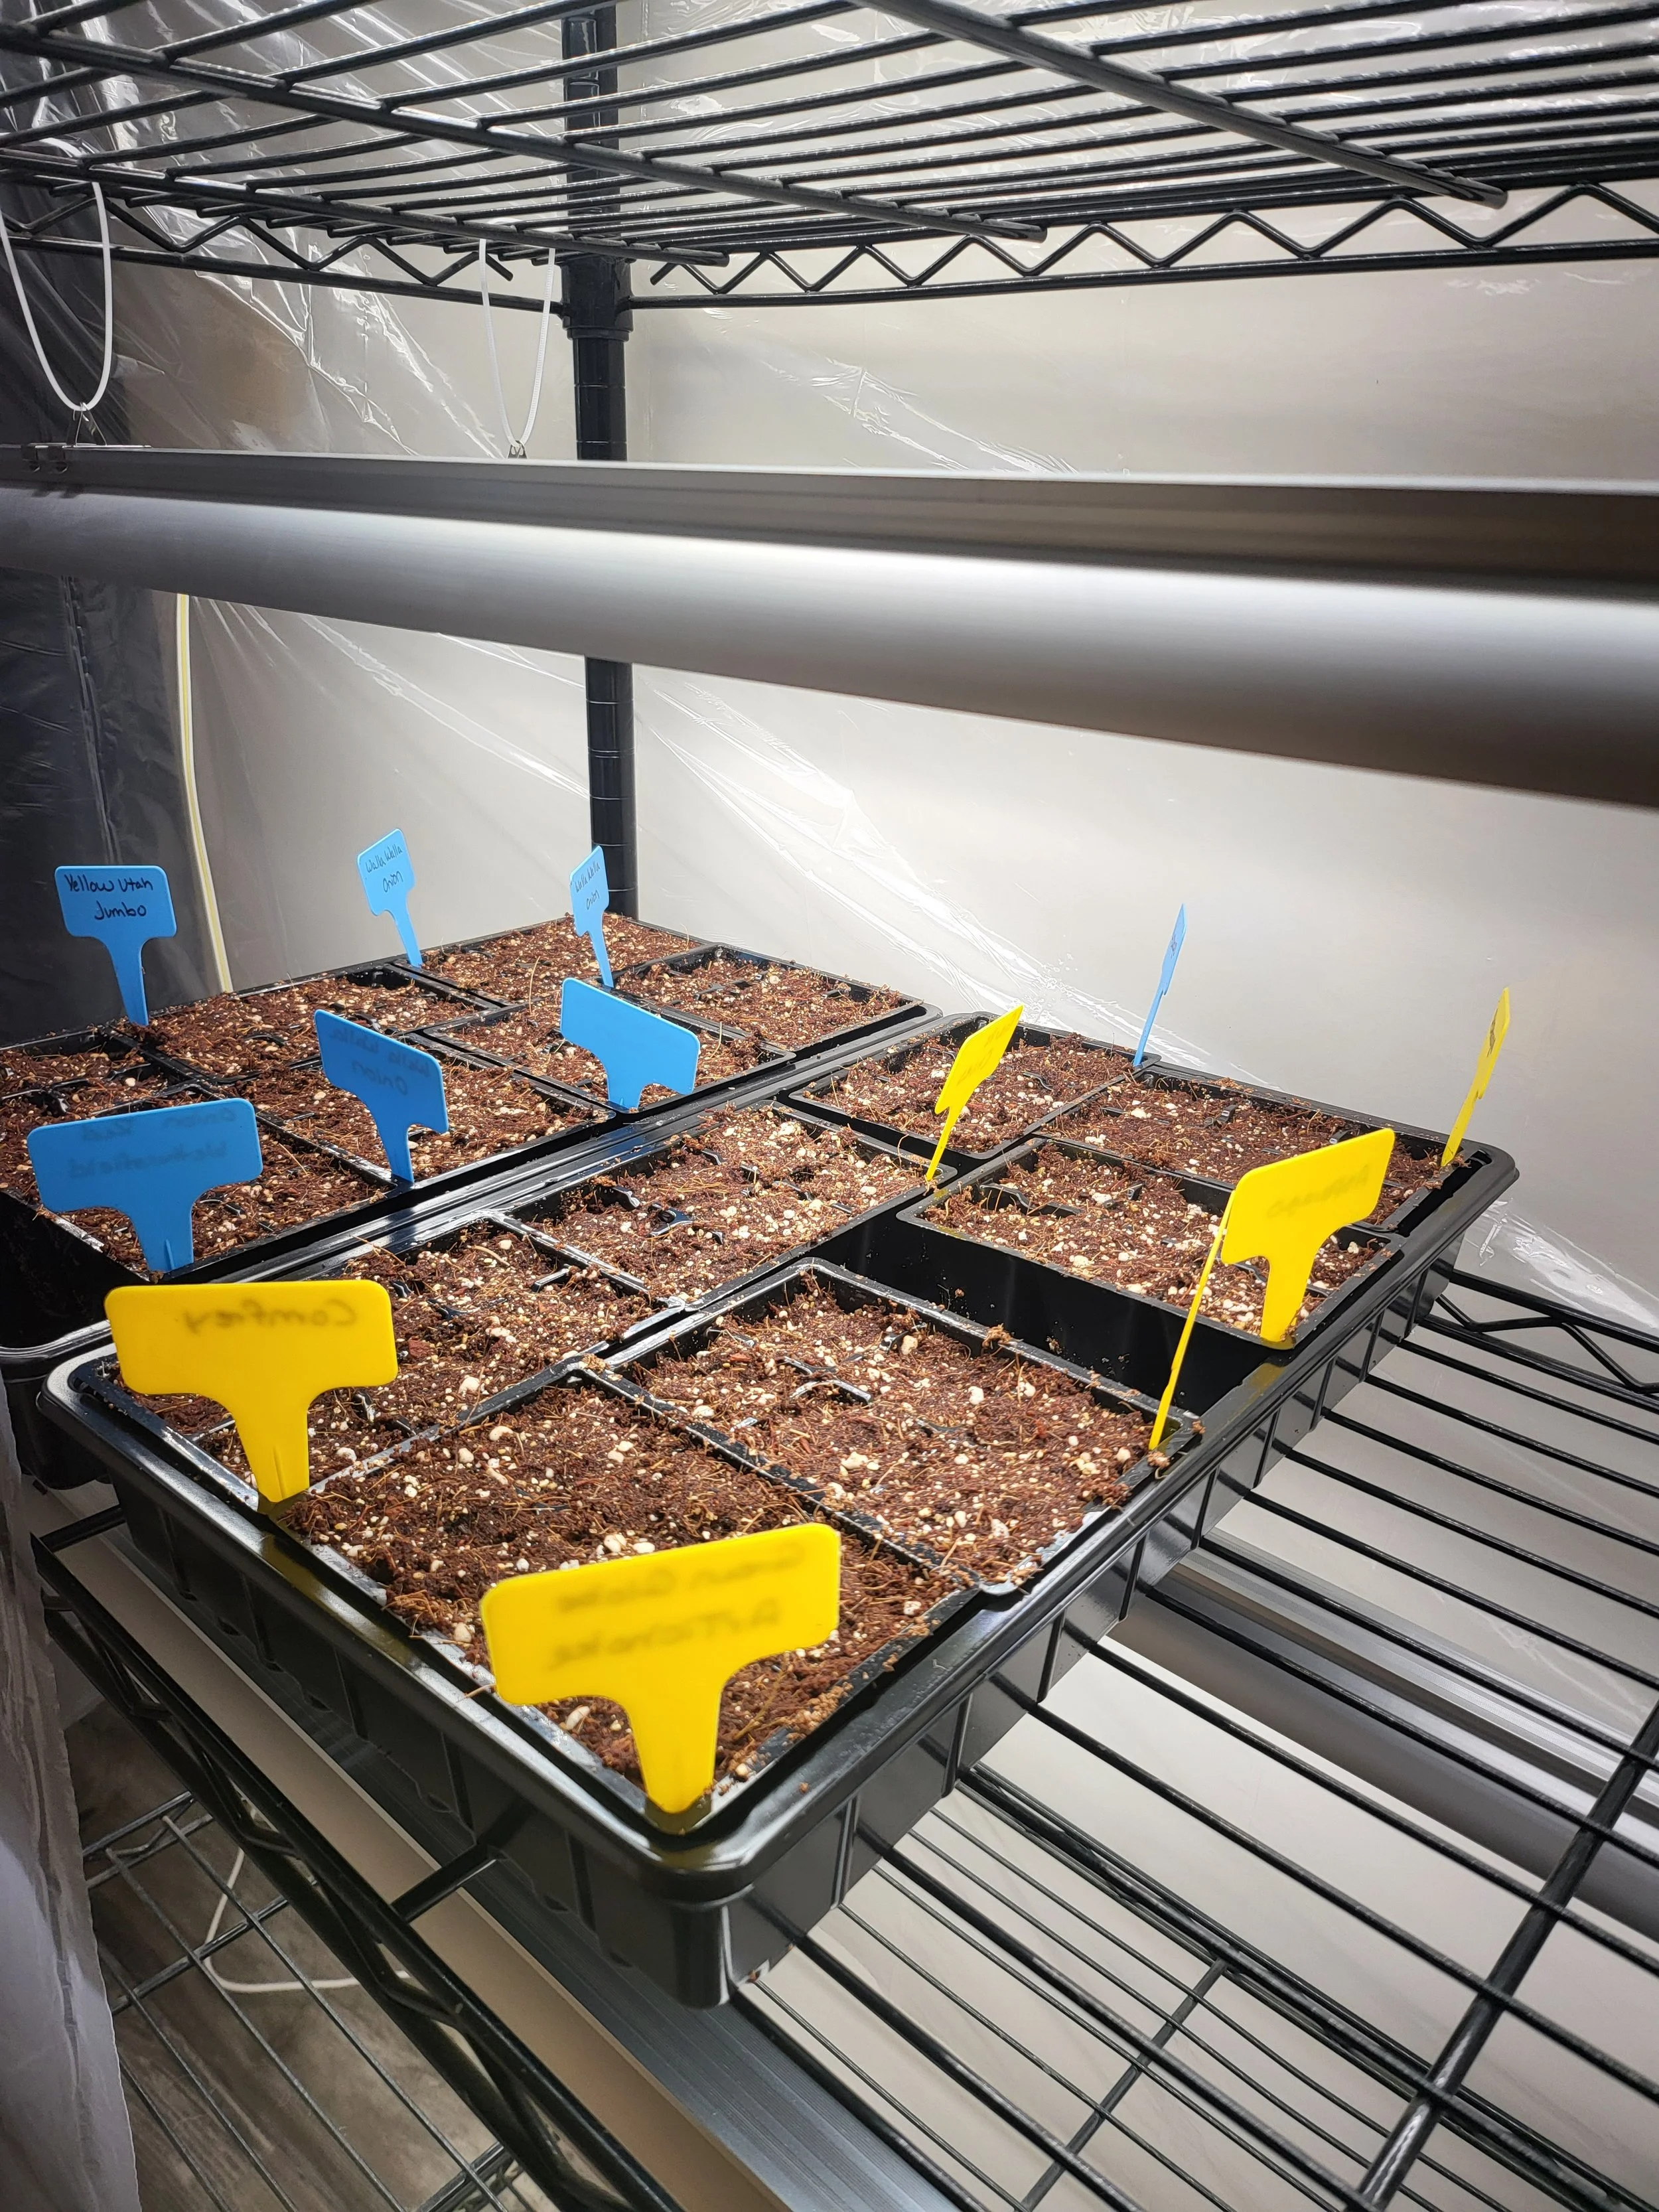
Curious about what I’ll be planting? Don’t miss my Starting Onions from Seeds. These plants require some extra care when starting from seed, and I’ve shared my tips for giving them the best possible start.
Why This Plant Station Matters
Creating this plant station is more than just a fun DIY project; it’s an investment in my gardening success. Here are some of the key benefits:
Better Environment Control
Seedlings are delicate and need specific conditions to thrive—consistent light, airflow, and temperature. This station allows me to provide all of that in a dedicated space without interference from daily household activities.Efficiency and Convenience
With the timers and automated setup, I can maintain a consistent light schedule without having to think about it. Everything is in one place, organized, and easy to manage.Scalability
The shelving unit has multiple tiers, so I can grow a variety of seedlings simultaneously. Whether it’s vegetables, herbs, or flowers, I have the space to nurture everything I want for the upcoming season.A Strong Start for the Growing Season
Healthy seedlings mean healthy plants in the garden. By giving them the best possible start indoors, I’m setting myself up for success when it’s time to transplant them outside.
Excitement for the Growing Season
I’m beyond excited to see this project come to life and start using the plant station. Soon, I’ll be sowing seeds for my favorite vegetables, herbs, and flowers, watching them sprout and grow strong in their new home.
This setup represents more than just a functional upgrade; it’s a reflection of my commitment to improving my gardening skills and enjoying the process along the way. I can already picture the lush, vibrant seedlings filling the shelves, ready to take on the world (or at least my garden!).
If you’ve been thinking about setting up your own seed-starting station, I highly recommend it. Repurposing items like a shelving unit is a great way to save money while creating something that works perfectly for your needs. Add some grow lights, timers, and airflow, and you’re ready to grow!
Stay tuned for updates as I document my seed-starting journey and share tips and tricks along the way. Here’s to a successful and bountiful growing season ahead!


Resources:


